Prepare an image for sharing: metadata and compression
Inspect supported EXIF fields, create a cleaned copy, check it and compress your image. Understand formats, limitations and final sharing checks.
Fictional files for reproducing the steps
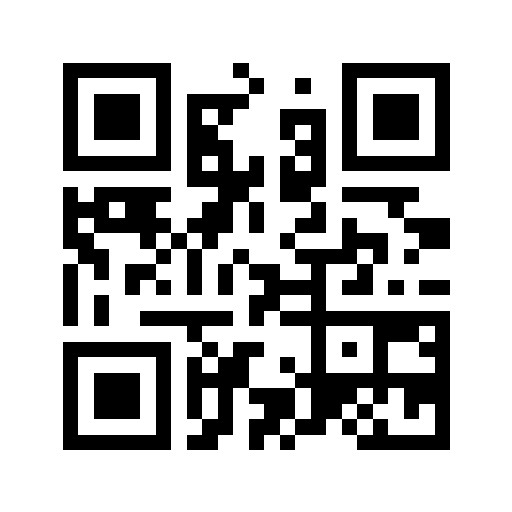
No personal photo. The file contains a demonstration QR and fictional metadata.
Prepare a copy before sharing
An image can reveal information through both its file and its visible content. This workflow helps you inspect selected fields, create a new copy, check the result and adjust its file size. Keep the original separately and work with a copy. These tools process the selected image in your browser; loading the website still requires normal requests for pages and their resources.
1. Inspect the fields the viewer recognises
Open the metadata viewer, choose your image and note its type, file size and dimensions. For supported JPEGs, it can also display selected EXIF fields, such as camera make, model and orientation. It does not read GPS tags or provide a complete metadata inventory. An empty result only means that no supported fields were read. If sharing could expose sensitive information, plan to use a more comprehensive inspector before and after processing.
2. Create a cleaned copy
Select the same file in the metadata cleaner, create the copy and download it. The tool redraws the pixels onto a canvas and encodes a new image rather than editing a few tags in the original. PNG input stays PNG; other images the browser can decode are normally re-encoded as JPEG. Animation is lost, and transparency, colours or quality may change. Check the actual output format: the browser may fall back to PNG if the requested format is unavailable.
3. Reinspect the downloaded file
Open the actual downloaded copy in the viewer. Compare dimensions, orientation and recognised fields with your notes. Also inspect the picture itself at a useful size: readable text, reflections, faces, badges and background details can remain revealing. Removing EXIF does not anonymise the pixels. An exported file may still contain technical information generated by the encoder, such as resolution. Removing original fields and proving that no metadata exists are different things.
4. Compress and check the final version
Load the cleaned copy into the compressor. Keep aspect ratio enabled, set a maximum width if needed, and choose JPEG, WebP or PNG. Start with 80% quality for JPEG/WebP and compare the appearance; PNG ignores that setting. The compressor replaces transparency with white when exporting JPEG. Its input picker offers PNG, JPEG, WebP and GIF, with a 20 MB file limit; output is limited to 8,000 pixels per side and 20 megapixels. Animated GIFs become still images. Download the result, compare its actual size and inspect this final file again. Recompression can make a file larger, and repeated JPEG encoding can reduce quality.
Try it without a personal photo
The demonstration file is a test QR image with fictional values including “Fictional Camera” and “QA Model”. An earlier QA check found these fields and then found no EXIF entries in the cleaned copy. That observation applies to that file and version; it does not certify every format. A fictional author field also exists in the source but is not displayed by the built-in viewer, illustrating its limited scope. Use the example to understand the steps, rather than treating its compression results as representative of photographs.
Open the workflow tools
Frequently asked questions
Does an empty EXIF result mean the file is safe to share?
No. The viewer does not check every metadata field, including GPS, or information visible in the pixels.
Is cleaning lossless?
Not always. JPEG is re-encoded, animation becomes a still image and appearance can change. Keep the original.
Why check again after compression?
Compression creates another file. Check its format, size, appearance and relevant metadata before sharing that version.